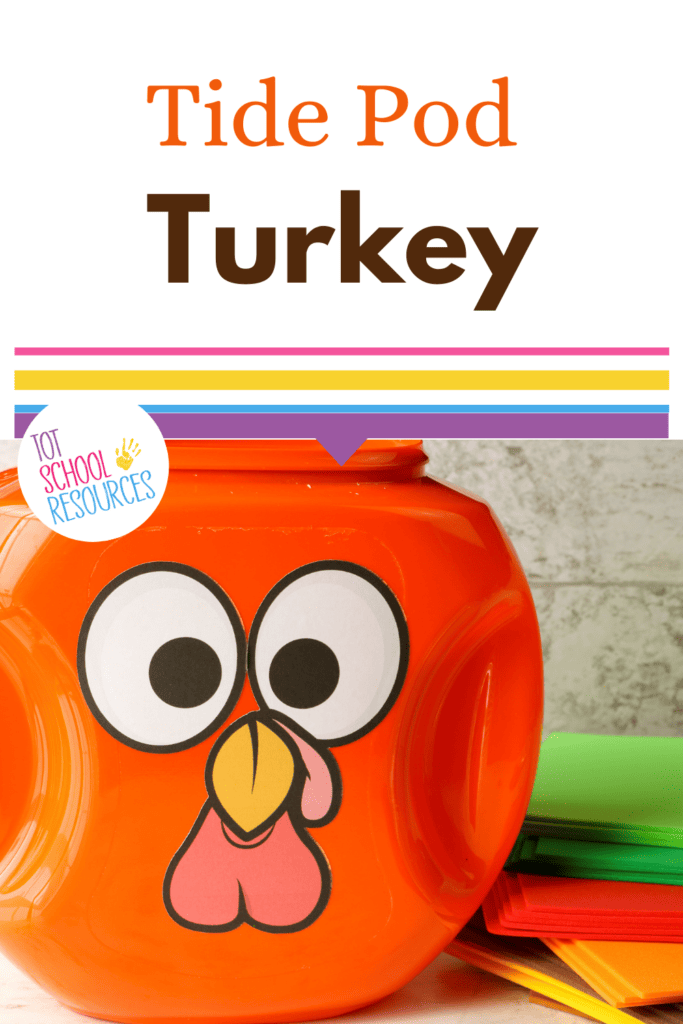
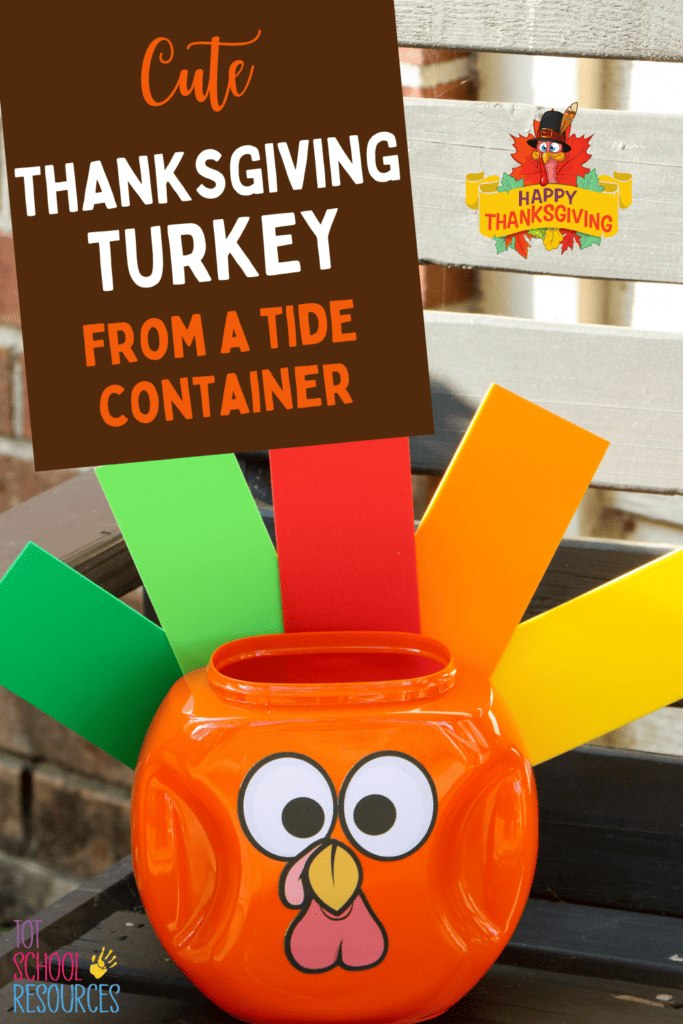
Easy Tide Pod Container Turkey Craft {Printable Template}
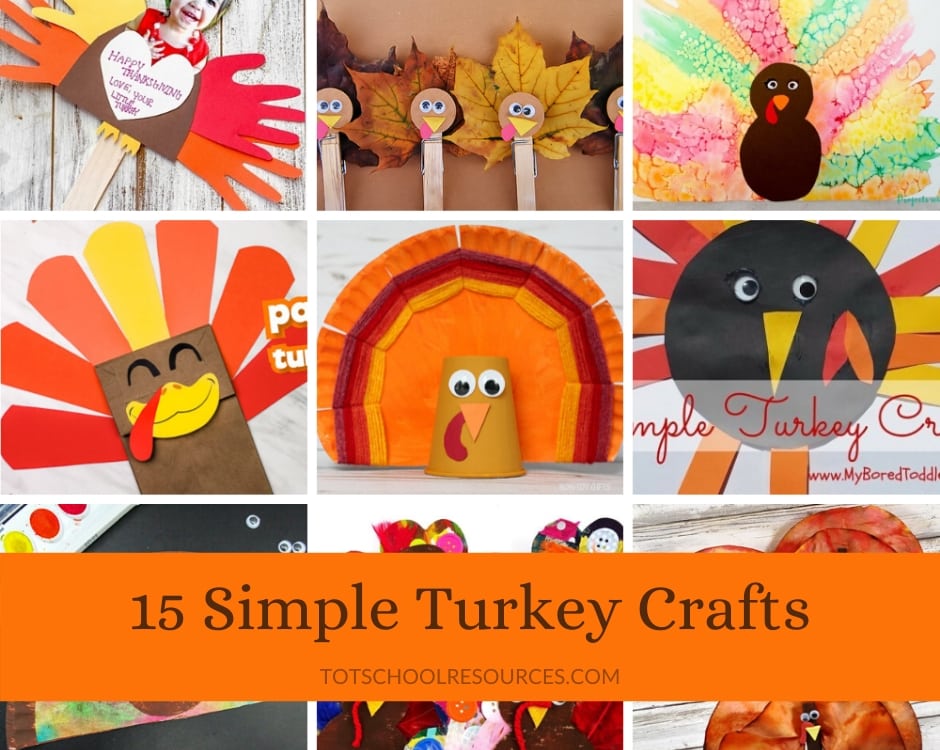
Thanksgiving is just around the corner which means it’s time to make some turkey crafts!
Turkeys are always fun to make because there are so many possibilities and they’re bright and full of color!
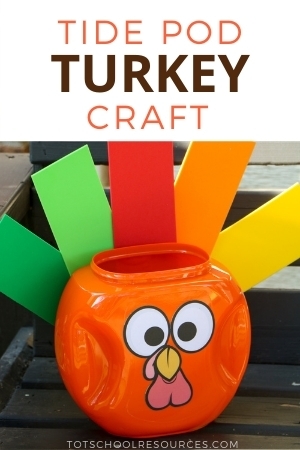
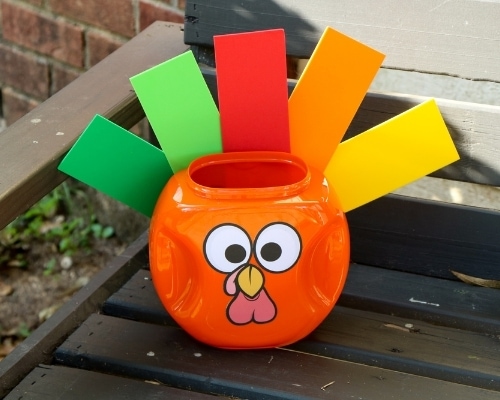
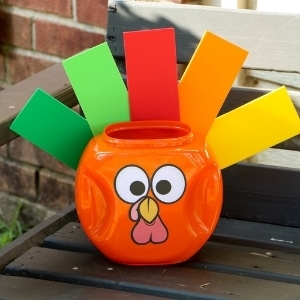
For this craft, we’re using a tide pod container and upcycling it into a fun tide pod container turkey. If you want to be extra thrifty and did our tide pod pumpkin you can actually now turn that pumpkin into a turkey! (I’ll tell you how down below)
This post contains affiliate links. If you make a purchase after clicking one of my links I may earn a commission at no additional cost to you.
Like our styrofoam turkey craft this fun turkey craft is an easy one to do with your kids.
Your completed creation can make a cute center piece or sit anywhere in your home as part of your Thanksgiving decor!
Once you have the pieces ready this craft can be put together in about 5 minutes so it’s a quick and easy way to make a craft with young kids.
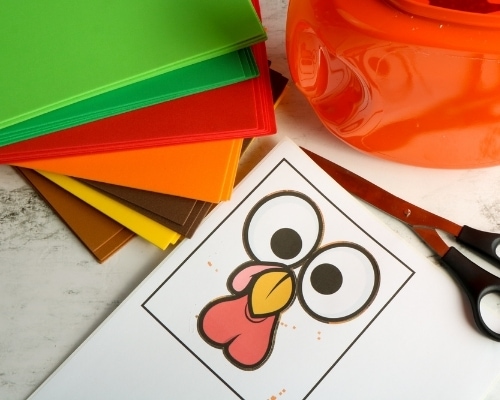
Tide Pod Container craft supplies
- 1 empty tide pod container
- turkey template (download below)
- Printer paper or 8.5×11 blank adhesive label
- Liquid glue or glue dots
- Scissors
- Craft foam sheets in red, green, yellow, & orange
How to make a tide pod container turkey
1 – Before you get started you’ll need to remove the labels.
Start by soaking the container in hot water. Then scrape off what you can. Lastly use Goo Gone to remove what’s left of the label. You can also try a heat gun if you have one.
2 – Some containers have an orange lid while others are grey. I prefer keeping the lid on if kids might be messing with it as you don’t know what sort of chemical residue might be left inside. This is at your discretion.
If you have a grey lid you may want to try to paint it or glitter it like we did with our tide pod pumpkin.
3 – Print out the template and cut it out.
Printing it on a label is the easiest as you are essential creating stickers you can simply stick on the container.
But you can always print it on regular paper or cardstock and glue it onto the container.
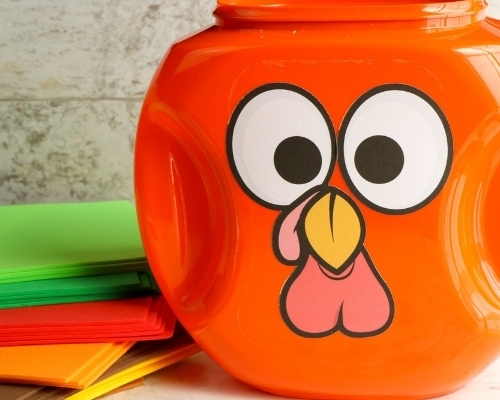
4 – Turn the container so the handle side is facing you, this way it will look more like a narrow turkey face.
Stick or glue on the turkey face.
This is also how you can turn your tide pod pumpkin into a turkey!
For the pumpkin tide pod container we put the face on the wider side. Simply flip it around and put the face on the handle side and you’ll be able to repurpose your pumpkin into a turkey!
You will need to either ditch the lid or get a new lid to avoid having the green pumpkin top on your turkey.
5 – For the tail, you have lots of options. We used foam sheets cut into sheets that are about 2 inches wide and 8 inches long.
You can cut these to look more like feathers, or try using actual feathers.
I don’t recommend using construction paper as it’s thin and will likely just fold over instead of sticking up straight.
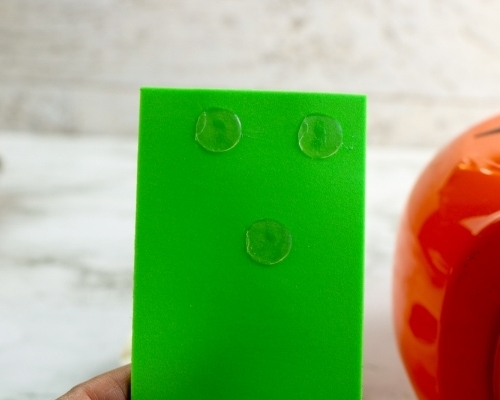
Glue dots will make it easy to stick them onto the container.
You can use liquid glue as well. You’ll probably want to lay the container down until the glue dries so the “feathers” don’t slide down.
6 – Let dry completely if you used glue and then use him as part of your Thanksgiving decor!
Printable turkey face
The turkey face printable is a PDF. You can print the face on plain paper, cut it out, and glue it on.
Or, print it on a full page label and when you cut it out it will become a sticker you can stick right on your tide pod container.
Printables are for personal use only. All printables on Tot School Resources website are the property of totschoolresources.com and may not be sold, used for commercial purposes, or given away for free on your own website.
Visit the Thanksgiving Page for more Thanksgiving themed fun!
I hope you enjoy this craft! Tag your creations on Instagram @totschoolresources.
Tide Pod Turkey craft
Cute turkey craft made from a tide pod container.
Materials
- 1 empty tide pod container
- turkey template (download on website)
- Printer paper or 8.5x11 blank adhesive label
- Craft foam sheets in red, green, yellow, & orange
Tools
- Liquid glue
- Scissors
- Goo Gone
- Sponge brush or paint brush
Instructions
- Before you can create your turkey you'll need to remove the label from the container. Start by soaking the container in hot water. Then scrape off what you can. Lastly use Goo Gone to remove what's left of the label. You can also try a heat gun if you have one.
- Print the turkey face out on paper or a label and stick or glue it onto the container on the handle side.
- For the tail cut foam craft sheets into strips about 8 inches long and 2 inches wide. Use liquid glue or glue dots to attach them on the opposite side from the face.