Easy Turkey Craft {3D Styrofoam & paper turkey}
3D Turkey Craft
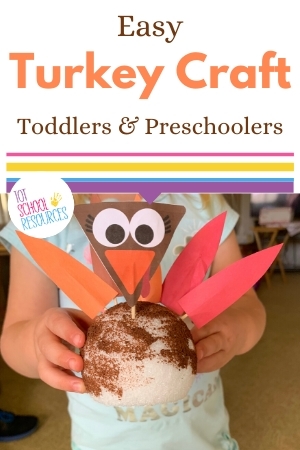
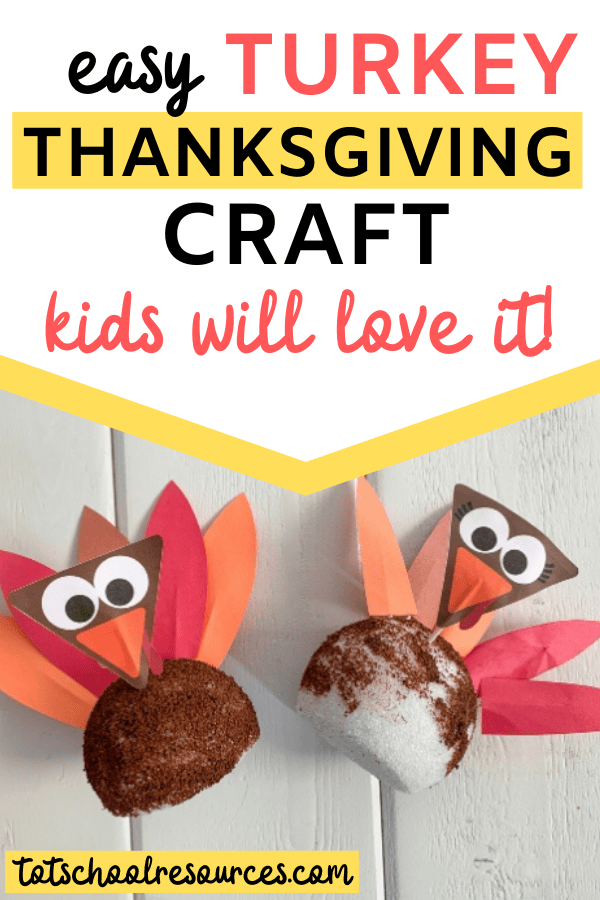
Thanksgiving is the perfect time for a turkey craft! My toddler loved making and re-making this easy 3D turkey. Preschool age kids will enjoy it as well.
I’ve gotta say, this little guy turned out pretty cute with his styrofoam body and paper parts. It’s also a glue-free craft!
I’ve also included a printable template for all your turkey parts!
This post contains affiliate links. If you make a purchase after clicking one of my links I may earn a commission at no additional cost to you.
This craft was a home run at our house! My daughter is almost 3 and enjoys crafts but generally has a very short attention span for them.
When she saw mine she actually asked if she could make one and then wanted to make more! She’s been playing with it again and again which is great to see.
I love this craft because it is something they can continue to fiddle with after it’s been made or you can use them as part of your Thanksgiving decor.
You can even stick a name in them and use them as name cards for your Thanksgiving dinner!
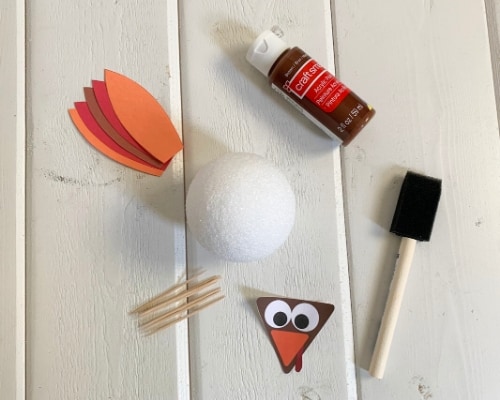
Turkey craft supplies
- 3″ styrofoam ball
- Turkey face printout
- brown paint
- scotch tape or similar
- Construction paper turkey feathers
- toothpicks
- sponge paintbrush
How to make a 3D turkey
1 – Prep the styrofoam ball
Before you get started you’ll need to create a flat side on your styrofoam ball so that it won’t roll away.
A serrated knife (bread knife) will work best. Cut a small portion off of one side to make one side flat.
2 – Paint your turkey
Then, you’ll want to do is paint your turkey body brown. A sponge paintbrush is great for getting paint in the crevices of the styrofoam ball.
Once your child has painted it as much as they want, set it aside to dry.
You may want to set it out in the sun to dry if possible, especially as kids tend to use a lot of paint.
3 – Prep your pieces
Next, you’ll want to print out the template (grab it at the end of this post). Cut out your child’s choice of turkey face and cut out the template for the feathers.
Use the template to trace feathers onto colored construction paper.
We used 5 feathers in brown, red, and orange. You can use more feathers if you’d like in whatever colors your child chooses.
4 – Attach to toothpicks
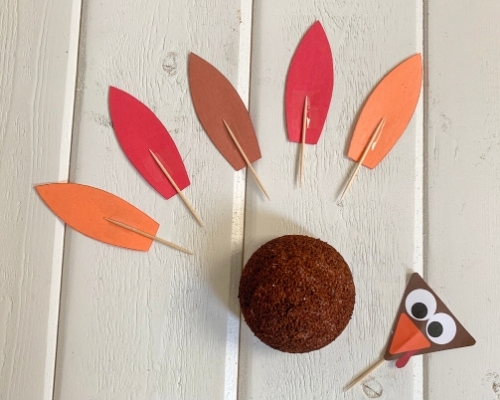
Attach your pieces to toothpicks using tape. (You can use glue but it will take a while for them to dry).
Using tape is easier and great for kids that are a bit sensory adverse like mine. She hates getting glue on her fingers so tape worked perfectly.
I cut the pieces of tape and held the pieces while she applied the tape. She was so proud when she was able to get it on!
I left 1/2 – 2/3 of the toothpick exposed to be pressed down into the styrofoam body.
5 – Build your turkey
Now that all your pieces are ready it’s time to build your turkey!
Once the turkey body has dried press each feather into the ball in a line to create the tail feathers. Then stick the head down into the front of the body and you’ll have a cute little turkey.
Kids can easily pull the head and feathers out and re-build their turkey as much as they want!
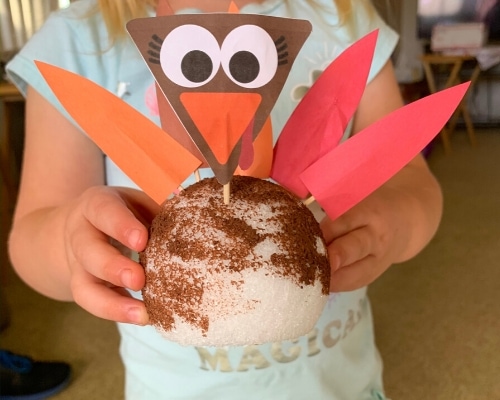
This is how my daughter’s turned out! She was over the painting portion before hers was totally coated but loved the actual building a turkey part.
Learning Opportunities
You know I always like to include some learning opportunities with my crafts and activities! Here are 3 great opportunities for learning while making your turkey craft.
Fine Motor Skills
When the idea for this cute turkey craft first came to me I was anxious to see how my toddler would do with the toothpicks. She was able to push the toothpicks in with only a little trouble.
As she’s done it, again and again, she’s gotten good at pushing them in just far enough.
The painting part is also good for those fine motor skills as they practice working that paintbrush!
Counting
Give those tail feathers a count! How many are there on your turkey? You can add numbers to each feather if you want to really work on counting and number recognition with your child.
Colors
If your child is still working on colors have them identify the colors used. I love this especially if you use several feathers of the same color like we did. That way they’re seeing and hearing the same one multiple times.
As always keep it fun with your kiddos and let them take the lead.
Printable Turkey Template
All Tot School Resources printables are for personal use only! You may not use any part of this content for commercial purposes, which includes selling the document, giving it away to promote your business or website, or printing the file to sell.
Click the button below to grab your template for the turkey head and tail feathers. Don’t forget to tag @totschoolresources on your turkey creation photos on Instagram!
Visit the Thanksgiving Page for more Thanksgiving themed fun!
How to make a styrofoam turkey
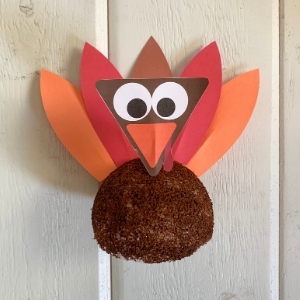
Kids will love making this fun turkey craft for Thanksgiving.
Materials
- 1 styrofoam ball
- Brown acrylic paint
- Construction paper
- Toothpicks
- Clear tape
- Printable template for face/feathers
Tools
- Scissors
- Sponge paintbrush
Instructions
- Use a serrated knife to cut a small amount off one side of the styrofoam ball so that your turkey can sit flat on a table.
- Use the sponge paintbrush to paint the styrofoam ball brown and set it aside to dry
- Print out the template and cut out the face of your choice and a template for the feathers
- Use the template to trace and cut out 5-6 turkey tail feathers in the construction paper colors of your choice.
- Tape a toothpick to each tail feather as well as the face. Leave 1/2 to 2/3 o the toothpick exposed so you can attach them securely to the body.
- Once the styrofoam ball body is dry stick each feather into the body in a line to create the tail.
- Finally, press the head into the body in front of the feathers.
Notes
These cute turkeys make perfect name cards for your Thanksgiving dinner! Simply write the name on a piece of paper, attach to a toothpick, and add it to your turkey.

