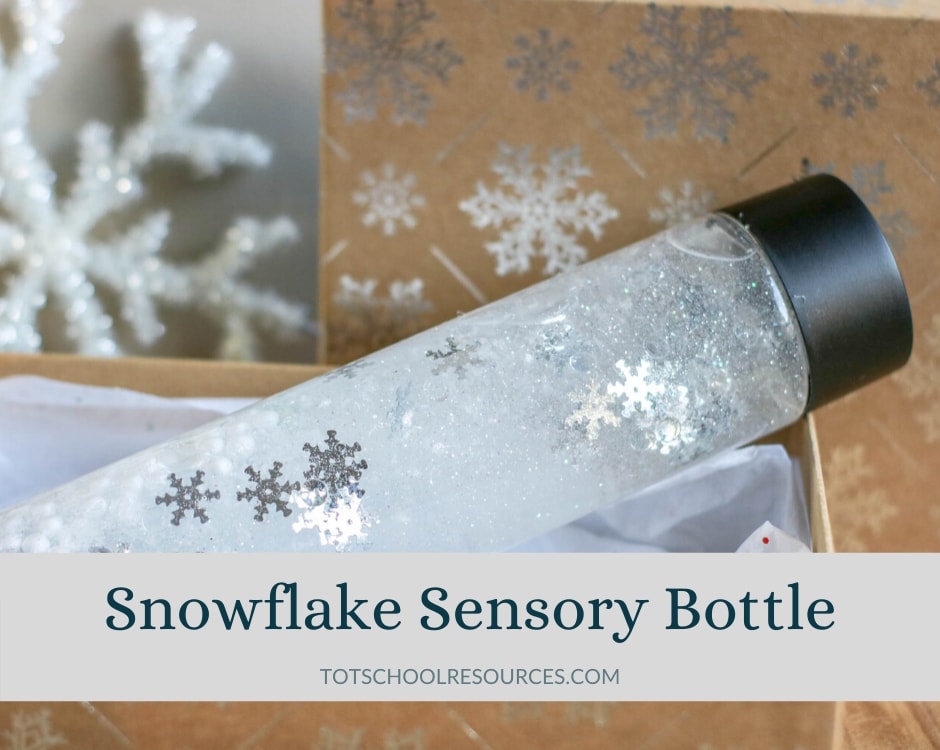
Snow sensory bottle {beautiful winter craft}
Winter Sensory Bottle
Have some wintry fun with your kids with this beautiful snow sensory bottle.
The peaceful snowflakes drifting down make it great for a calm down bottle too. It’s great to make for babies and young toddlers.
Older toddlers and preschool age kids will love helping to make it themselves.
This post contains affiliate links. If you make a purchase after clicking one of my links I may earn a commission at no additional cost to you.
What do you need for your sensory bottle
You can probably find most of these items at your local craft store or dollar store, or you can buy them online. Sometimes that 2 day prime shipping is just easier with little kids!
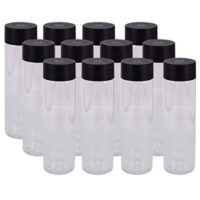
- 1 clear plastic bottle like the one below
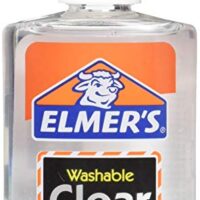
- 2-3 6oz bottles of Elmer’s CLEAR glue
- 1 cup warm water
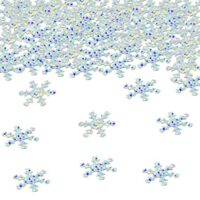
- Snowflake confetti
- Fake snow
- Foam slime beads
You can switch up the add-ins to create your own version or use these to make one just like ours.
How to make your snowy sensory bottle
1 – Open the plastic bottle and empty one bottle of clear glue into it.
2 – Fill the empty glue bottle with about 1/4 cup of warm or hot water (about halfway full). Put the lid on and shake it to mix all the glue with the water.
3 – Empty the mixture into your plastic sensory bottle and shake or stir to combine.

4 – Add part of your add-ins (confetti, foam balls, snow, glitter) to the bottle.
5 – Close the jar and shake well then see how things move.
6 – From here you’ll need to experiment. Continue to add glue and add-ins in small layers until the contents move as fast or slow as you like.
7 – Once you’re happy with your sensory bottle add a bit of hot glue or super glue to the lid before sealing it one last time.
Now you’re ready to play!

Learning Opportunities
Sensory Play
Sensory bottles are a great way for experiencing different senses of course. As you’re preparing all the add-ins you can talk about how each one feels. Which ones are shiny.
Asking questions will also help your child to feel more involved in the process.
Science Experiment
Every sensory bottle is its own hands-on science experiment! Let them help you make it and try out different amounts of ingredients and see what happens. You can even make several with slightly different ingredients or add-ins and then talk about the differences. Ask lots of questions such as:
- If you add more glue do the items inside move faster or slower?
- Which of the add-ins sink the fastest?
- What happens if you roll it? Shake it? (Just don’t throw it or it might open and spill everywhere!)
Snowflake Sensory Bottle

Beautiful wintry snowflake sensory bottle.
Materials
- 1 clear plastic bottle like the one below
- 2-3 6oz bottles of Elmer's CLEAR glue
- 1 cup warm water
- Snowflake confetti
- Fake snow
- Foam slime beads
Instructions
- Empty one bottle of CLEAR glue into your empty plastic bottle
- Add about 1/4 cup of warm to hot water into the glue bottle and swish around before adding it to the plastic bottle. Stir or shake to combine.
- Add the desired amount of add-ins (snowflake confetti, fake snow, and foam beads) into the bottle. Shake or stir to combine.
- Watch how the add-ins move and add more glue or add-ins until you create a bottle you love!
- Seal the lid with hot glue or super glue to keep it shut.
- Enjoy your beautiful sensory bottle or calm down bottle.
Recommended Products
As an Amazon Associate and member of other affiliate programs, I earn from qualifying purchases.