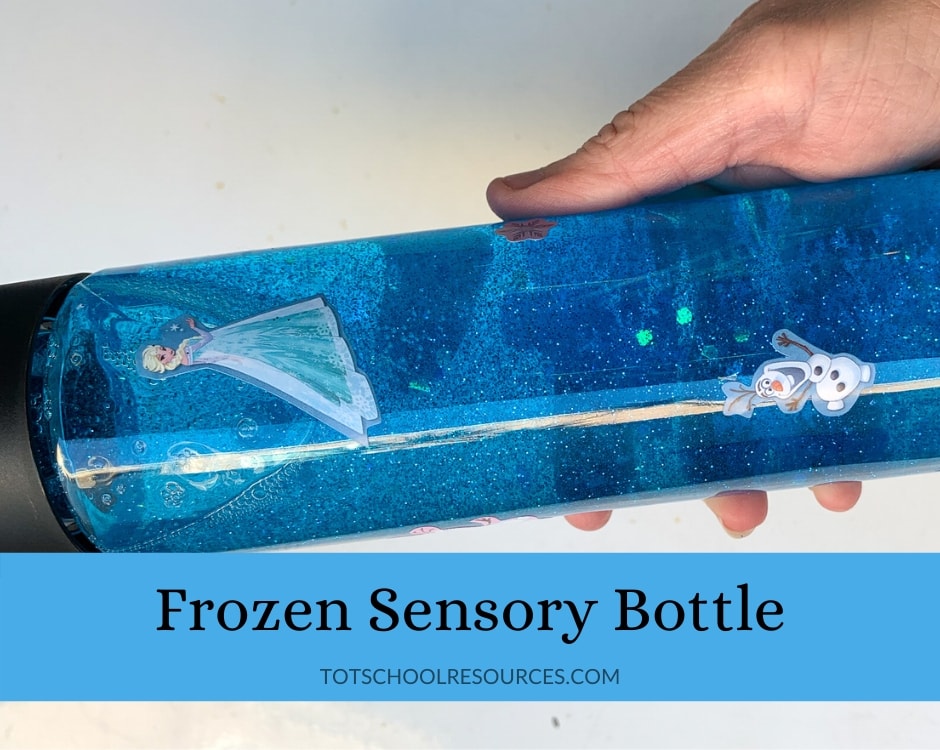
Frozen themed sensory bottle {for toddlers}
We’re a little late to the Frozen party as my oldest daughter just turned 3 a few months ago. But, she’s quickly became obsessed. So last week we made a fun frozen themed sensory bottle.
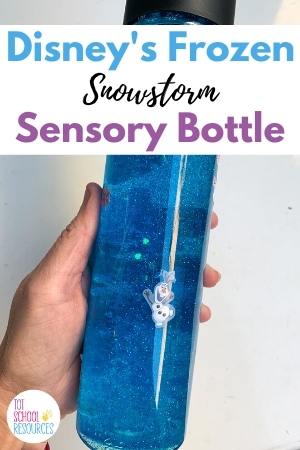
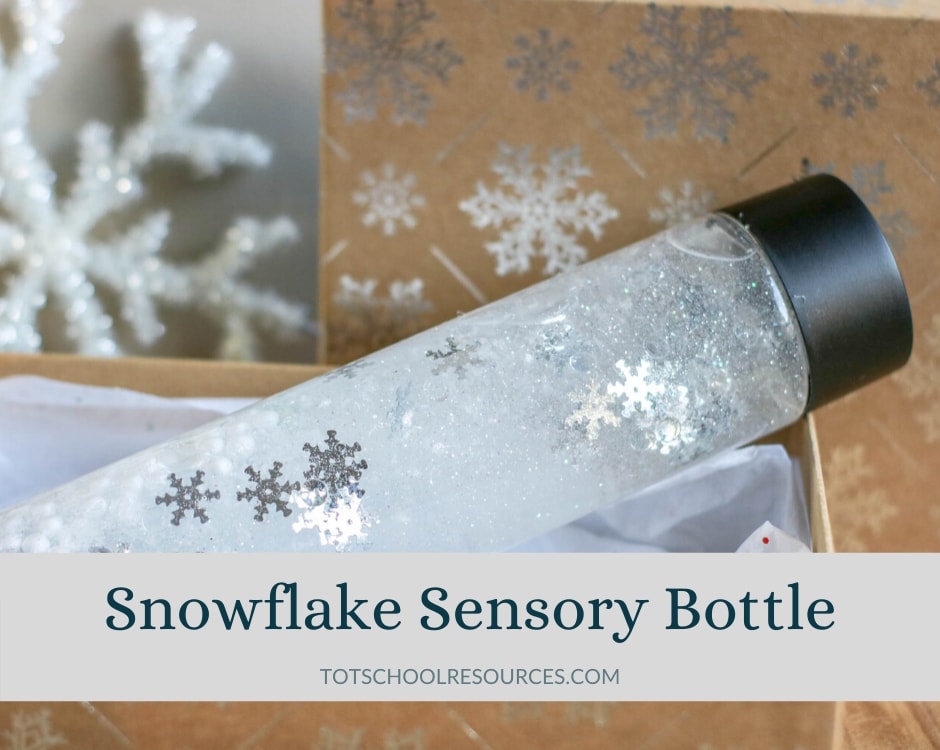
Sensory bottles, or calm down bottles, are a great distraction for toddlers and they can even help make them. This blue glitter snowstorm bottle is perfect for kids that are Frozen fans.
All sensory bottles are a bit of trial and error. You need to make the fluid thicker for the items inside to move slower and thinner for them to move faster.
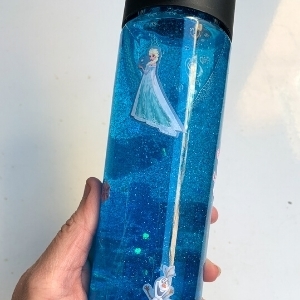
Most, like this one, are made with water, glue, and whatever mix-ins you choose. This one uses glitter and snowflakes to create a fun snowstorm effect.
This sensory bottle is the perfect Frozen activity for preschool age kids and toddlers and babies will love playing with it once it’s finished!
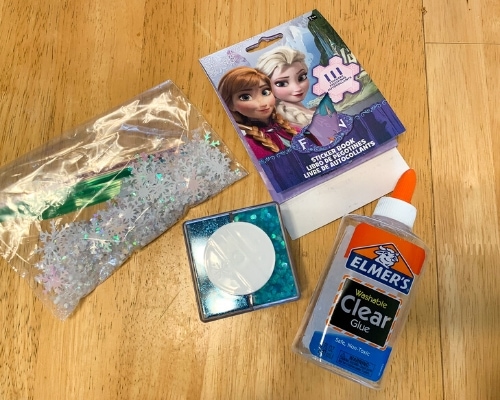
Elsa Snowstorm Sensory Bottle Supplies
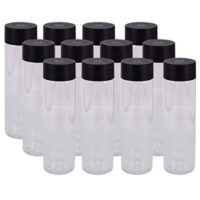
- Plastic Bottle
- Water
- Blue Food Coloring
- Blue Glitter
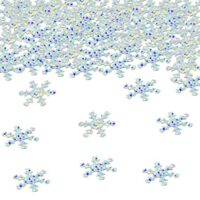
- Snowflake Confetti
- Frozen stickers
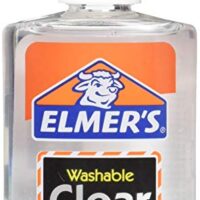
- Clear Glue
I can often find plastic bottles for sensory bottles at Michaels but you can also use a clear water bottle or buy them on Amazon.
I found the frozen stickers we used at Party City so you can check your local craft store, dollar store, or party supply store for them or just order them online. You’ll probably end up with more stickers that you need for the sensory bottle but if your kids are like mine the extra stickers won’t go to waste!
Directions
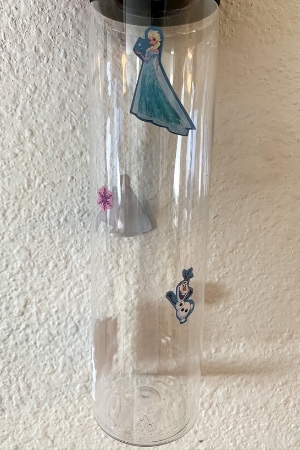
1 – Prep your sensory bottle by adding stickers all around. Be sure to leave lots of clear areas so that you can see the snowstorm happening inside.
2 – Boil water in a pan or tea kettle. Once it’s hot add 1 cup of hot water to a glass measuring cup or bowl.
3 – Mix in 2 bottles of clear glue.
4 – Add your accessories, the snowflake confetti and blue glitter.
Only add a small amount of the snowflakes. They are large and heavy so the more you add, the more glue you’ll need to add to make them fall slowly.
5 – Last, add 1 drop of blue food coloring. Ours ended up a bit dark as my daughter wanted to add the color and put in several drops.
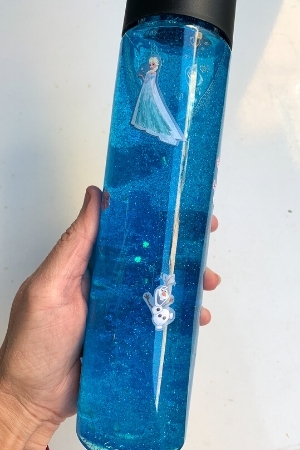
6 – Mix everything in and once the liquid has cooled down a bit (you don’t want to melt your plastic bottle) carefully pour the mixture into the bottle. The bottle should be mostly filled at this point.
7 – Screw the cap on and test out your bottle. If the confetti and glitter and falling too quickly you’ll need to add more glue.
If your bottle is full already you can dump a little bit of the liquid out to make space for more glue.
You’ll want your bottle full almost to the top with the water/glue mixture when you’re all done.
8 – Use super glue to firmly attach the lid so you don’t end up with blue glitter all over your floor and then give it to your kids to play with!
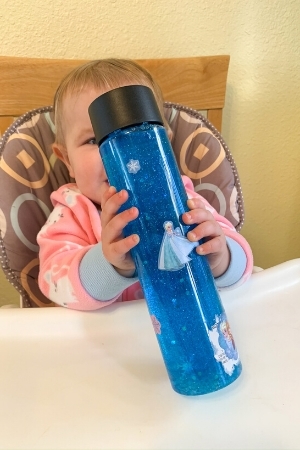
This is actually a picture of my 1 year old playing with it. My 3 year old has enjoyed it too and was able to help me make it as well.
Sensory bottles are a fun way for kids to use their sense of sight. Sensory bottles are also sometimes called calm down bottles as watching the contents slowly fall can be calming to a child that’s in a tantrum and just needs a break and to get their focus back.
How did your Frozen inspired sensory bottles turn out?!
Follow us on Pinterest for more great kid craft ideas!
Frozen themed snowstorm sensory bottle
Fun frozen inspired snowstorm sensory bottle for kids.
Materials
- Plastic Bottle
- Water
- Blue Food Coloring
- Blue Glitter
- Snowflake Confetti
- Frozen stickers
- Clear Glue
Instructions
- Add frozen stickers to your sensory bottle. (Be sure to not go overboard and leave plenty of clear space.)
- Boil water in a pan or tea kettle. Once it's hot add 1 cup of hot water to a glass measuring cup or bowl.
- Mix in 2 bottles of clear glue.
- Add the snowflake confetti and blue glitter. Only add a small amount of the snowflakes as they are heavy and it takes more glue to slow them down.
- Last, add 1 drop of blue food coloring.
- Mix everything in and once the liquid has cooled down a bit (you don't want to melt your plastic bottle) carefully pour the mixture into the bottle. The bottle should be mostly filled at this point.
- Screw the cap on and test out your bottle. If the confetti and glitter and falling too quickly you'll need to add more glue. If your bottle is full already you can dump a little bit of the liquid out to make space for more glue.
- Use super glue to firmly attach the lid.
Recommended Products
As an Amazon Associate and member of other affiliate programs, I earn from qualifying purchases.