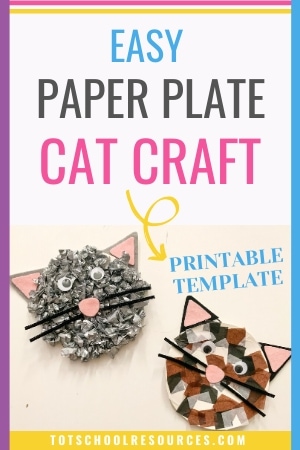
Cute & Easy Cat Craft for kids {Printable template}
Cat Paper Plate Craft
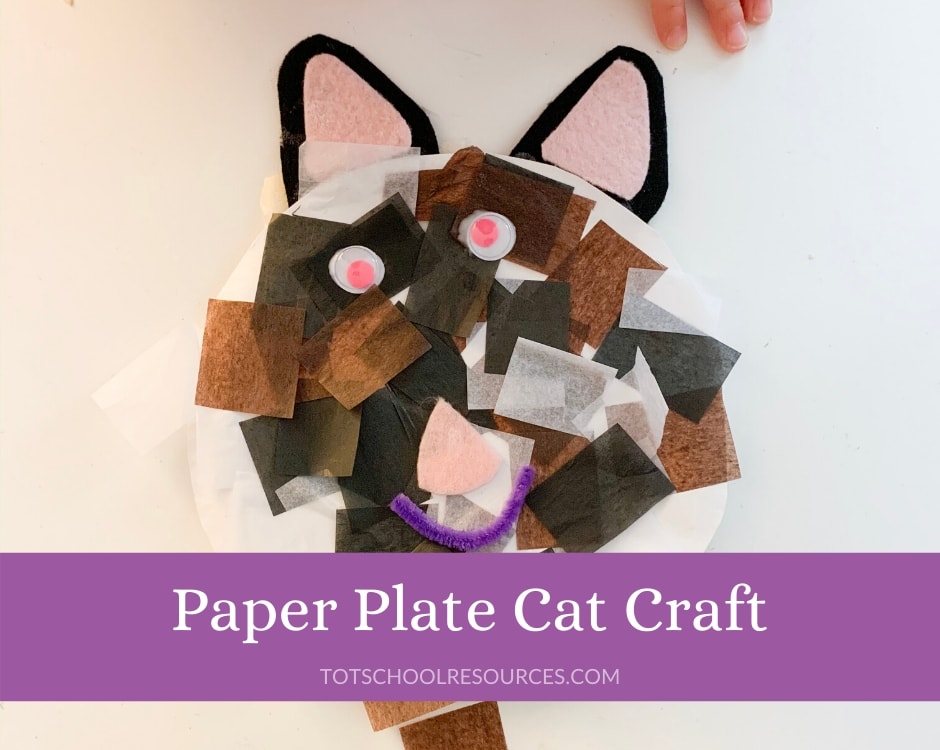
If your kids are anything like mine then they love cats! So I knew we needed to make some sort of cat-themed craft. I came up with these easy cat face craft made from tissue paper and a paper plate. I hope they’ll love this easy cat paper plate craft as much as my daughter did.
This craft can be done in two ways and in whatever colors you choose so you can make a black cat or a calico cat or any other color cat your child can imagine. It’s great for a range of kids from toddlers, to preschoolers, to kindergartners.
This post contains affiliate links. If you make a purchase after clicking one of my links I may earn a commission at no additional cost to you.
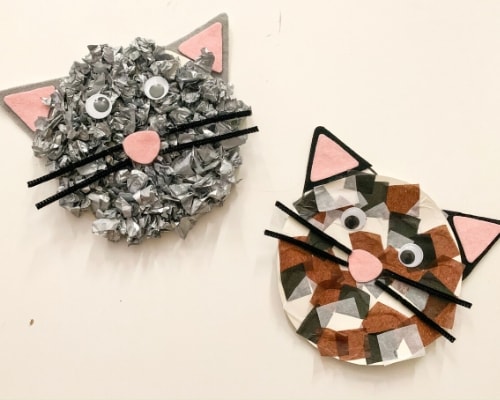
You can make this cat craft two different ways. I recommend the simpler version with tissue paper squares for younger kids. The version with the scrunched tissue paper takes more time and more fine motor skills so it’s better for slightly older kids and those that really like crafts.
I’ve included a printable template for the ears and nose if needed. You can download it after the instructions.
Cat Face Craft Supplies
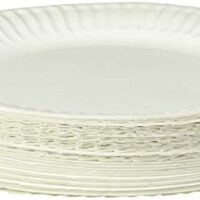
- Paper Plate
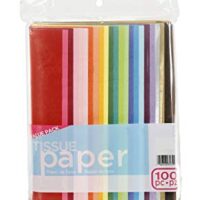
- Tissue Paper
- Felt or construction paper
- Pipe Cleaners
- Glue
- Googly Eyes
I recommend using glue and not a glue stick. Heavier things like googly eyes and pip cleaners won’t stick well with a glue stick.
How to make a paper plate cat
1 – Cut the edge off the paper plate leaving just the center circle. You can also print the template on cardstock and then simply cut out the circle.
2 – Cut the nose and ears out of felt or construction paper.
I love to use felt because it creates another sensory opportunity and they feel more like cat ears. But, you can easily use colored construction paper instead if that’s what you have on hand.
Cut the larger ear triangle out of one color, like black or grey. Cut the smaller triangle out of a light pink to create the inner portion of the cat ear.
Glue the inner triangle towards the top of the larger triangle. This will leave a larger space at the bottom for attaching the ear to the paper plate.

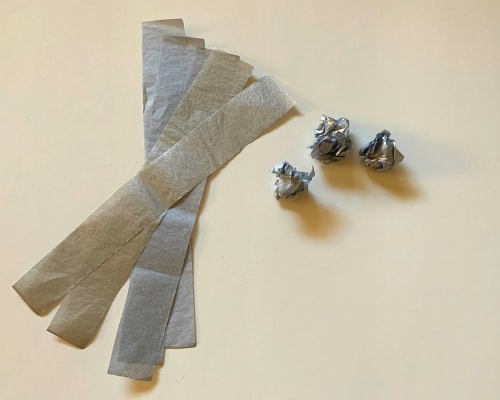
3 – Prep your tissue paper.
This craft can be done with simple tissue paper squares or with scrunched pieces of tissue paper. If you want to use squares cut the tissue paper into strips 1-1.5 inches wide and then cut it into squares.
For the scrunched tissue version cut thinner strips and leave them long so they can be scrunched down into tissue paper balls.
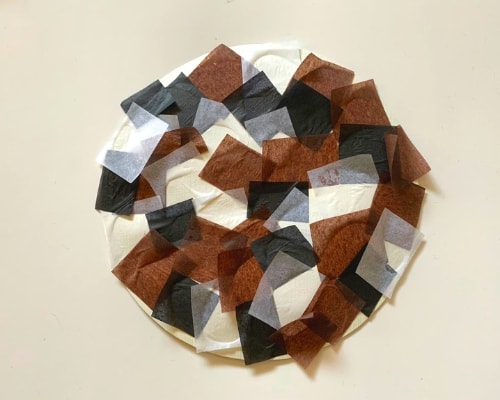
4 – Time to Glue!
My favorite way for kids to apply glue is with a paintbrush, especially if they’re like mine and don’t like to get glue on their fingers. Spread glue across the paper plate or cardstock and then add the pieces of tissue paper (either squares or scrunched pieces). For the scrunched pieces, you may have to dip them into a little extra glue.
Continuing adding bits of tissue paper until the entire circle is covered.
5 – Add the Accent Pieces
Glue the ears onto the top of the circle. Then add the nose.
Cut two pipe cleaners in half to create 4 whiskers. Put plenty of glue on the pipe cleaners. You may have to set something onto them to keep them pressed down while they dry.
To finish it off add two googly eyes in whatever color your child chooses. You could also cut eyes out of construction paper but we love the googly eyes at my house.
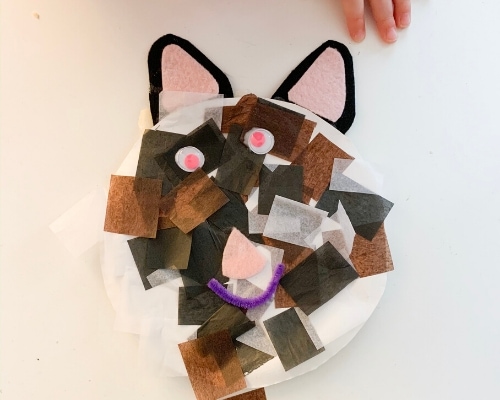
As you can see my daughter decided hers needed a happy face instead of whiskers which we made with a pipe cleaner as well.
6 – Let it dry and your cat face craft will be complete!
Maybe don’t choose grey as I realized once I took these photos that my grey cat looks a bit like a mouse lol.
Download Cat Face Template
Printables are for personal use only. All printables on Tot School Resources website are the property of totschoolresources.com and may not be sold, used for commercial purposes, or given away for free on your own website.
Click the button below to download your template. It includes pieces for the main circle, if you want to use cardstock instead of a paper plate, ears (both inner and outer), and the nose. Simply print on regular 8.5″x11″ paper and cut out the pieces to use as templates for your felt or construction paper.
Learning Opportunities
Fine Motor Skills
Crafts can be great for working on fine motor skills. For older kids you can start by letting them help cut the tissue paper.
Separating the pieces of tissue paper and rolling them then gluing them to the paper is great for developing a child’s fine motor skills…and they’ll just think they’re creating a fun cat craft!
Sensory Activity
One thing I love about this craft is that it’s also a great sensory activity. You have the smooth thin tissue paper, the soft felt, and the slightly rough pipe cleaners. Kids can experience lots of different textures while they make their cat.
You can talk about what the different pieces feel like either before you put them together or after the cat is made.
Have fun making your own paper plate craft and be sure to follow us on Pinterest for more great crafts and activities for kids.
Paper Plate Cat Face Craft

Fun & easy cat face craft for kids. Made from a paper plate and tissue paper.
Materials
- Paper Plate
- Tissue Paper
- Colored Felt
- Pipe Cleaners
- Googly Eyes
Tools
- Glue
- Scissors
Instructions
- Cut the edge off the paper plate leaving just the center circle.
- Cut the nose and ears out of colored felt. One shade for the larger part and light pink for the inner ear. (Use construction paper if you can't get felt). Glue the two pieces together.
- Prep your tissue paper. Cut tissue paper in your chosen color into squares about 1 inch x 1 inch or slightly larger.
- Spread glue on the paper plate and add small pieces of tissue paper all over until it's covered.
- Add the ears to the top of the plate. Then add the nose and whiskers made from 2 pipe cleaners cut in half.
- Add googly eyes or make your own eyes out of paper.
- Allow to dry completely.
Notes
- You may need to set something on top of the cat face to hold the whiskers down while they dry
- Visit my website to download a template for the ears and nose and a circle template if you want to use cardstock instead of a paper plate.
Recommended Products
As an Amazon Associate and member of other affiliate programs, I earn from qualifying purchases.